
I draw whatever is in front of me, in a small sketchbook, usually standing up. Here is how I started, what I carry, and what I do when the page looks rough.
What Is Urban Sketching and Why It Pulled Me In
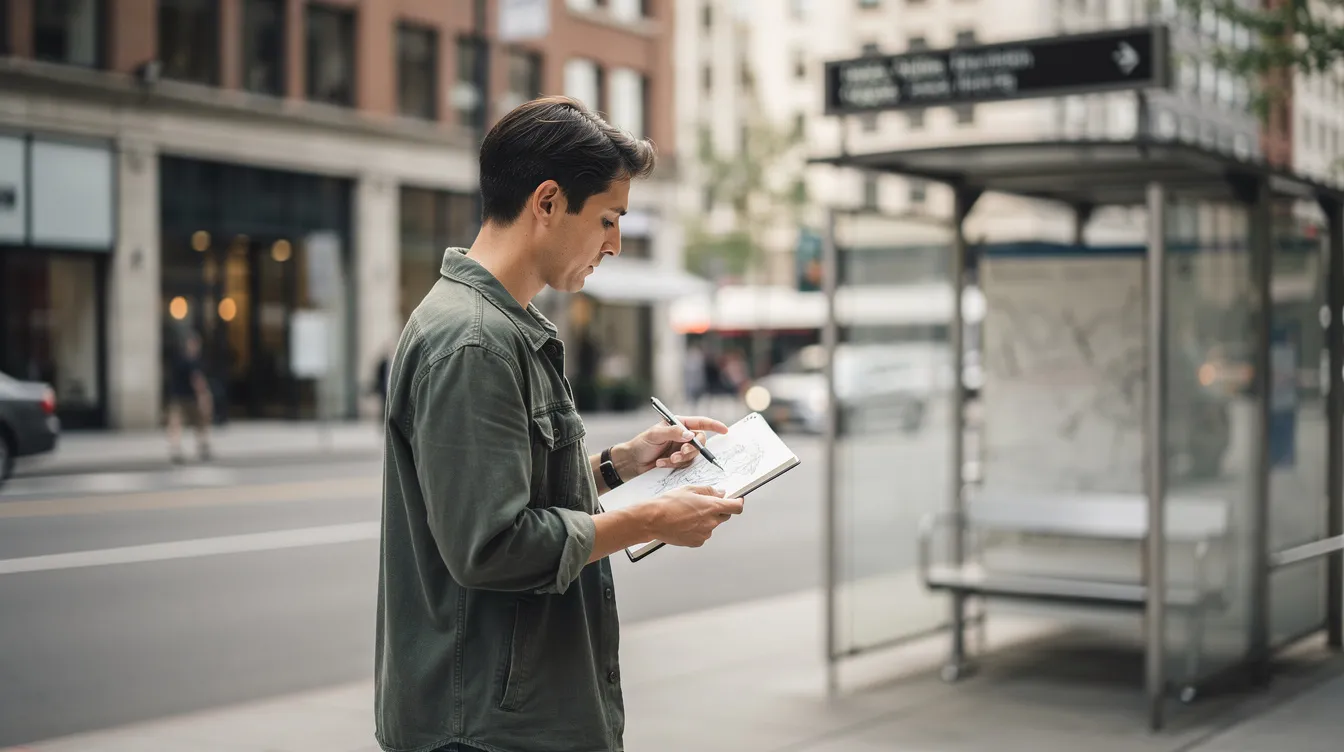
Most of my pages happen at a bus stop. The bus gives me a built-in deadline, and that deadline is what got me drawing in the first place. I realized I could draw real life in real time instead of from photos, and the pressure of a short window made it easier to begin, not harder.
Urban sketching is drawing real-time scenes on location in towns and cities, from direct observation of everyday life. An urban sketch can be a street, café, park, train platform, market, or the corner outside your front door. The page is a record of being somewhere at a certain time, not a photo-perfect result. For beginners and casual sketchers, that makes it a practical way to fill a sketchbook in short sessions with a small kit, whether you are drawing outdoors near home or while traveling. Artists draw these places because ordinary city scenes hold more detail than you notice until you try to put them on paper. The practice sharpens observation and visual memory, and it helps you connect with your surroundings through art and notice the character of a place more closely.
An urban sketcher often works in a small sketchbook, standing up or perched on a low wall, capturing whatever is there. No training, fancy kit or pretty subject is needed. On Sketch Where You Are, I write for people who want a low-pressure way to start: what to carry, how to begin, how to sketch a street scene quickly, whether to use pen or pencil, how to choose a sketchbook, how to work in weather or while traveling, and what to do with pages you dislike. The urban sketching community is a global network of people who share work in online communities and at local meetups. By 2025, Urban Sketchers had 500 recognized local chapters in over 70 countries. Joining local urban sketching groups fosters community and encourages learning. If you want the background on how the movement began in 2007 with Gabriel Campanario’s online group, the Urban Sketchers Wikipedia entry covers it well. The Urban Sketchers website lets you browse work from local groups around the world, and most of it is loose and imperfect. My blog, Sketch Where You Are, is a personal hobby blog, not an official group or class. I just draw and write about what happens.
Starting Your Own Urban Sketching Journey (Even with 10 Spare Minutes)
I am a hobbyist, not a teacher, and I started out nervous about sketching in public. Everything here comes from my own experiments. In my experience, people watching is rarer than beginners fear. Most passers-by do not glance over.
-
Pick a first subject that is simple and still: one mailbox, lamppost, parked van, shopfront, or corner of your kitchen window view. Not an entire square. Keep sketches small to reduce intimidation and enhance completion.
-
Decide how long you have. Bus due in eight minutes means a six-minute drawing. Set time limits for sketches to focus on essential forms. Block in the biggest shape first, add two or three landmarks like a window, sign, or door, and stop when time is up, even if the page is unfinished. Sketching can be done in short sessions before events.
-
Choose a low-pressure spot: a quiet side street at 8 a.m., a bus shelter, a seat near the back of a coffee shop, a bench facing a familiar intersection.
-
Write the date and place in the corner, add a sentence or two, and treat the book as a casual journal, not a portfolio. Sketchbooks serve as visual diaries to record experiences and memories. Looking back months later is the part I enjoy most.
-
Attach the habit to something you already do: bus stop, lunch break, laundromat wait, first weekend coffee. One small page per outing, and a few weeks of this fills a book and changes how you see your own city. Regular practice improves hand-eye coordination, and it promotes mindfulness and relaxation through observational drawing.
Beginner techniques help develop a personal style over time. Urban sketching allows personal style to emerge, and the practice encourages creativity. A fantastic way to begin is to grab a sketchbook, look for inspiration, and step out into the cityscape to develop your own style. That first page is the only hard one.
Simple Urban Sketching Supplies for Beginners
I keep the list short on purpose, because every extra item is one more reason not to start. My kit stays packed by the door.
-
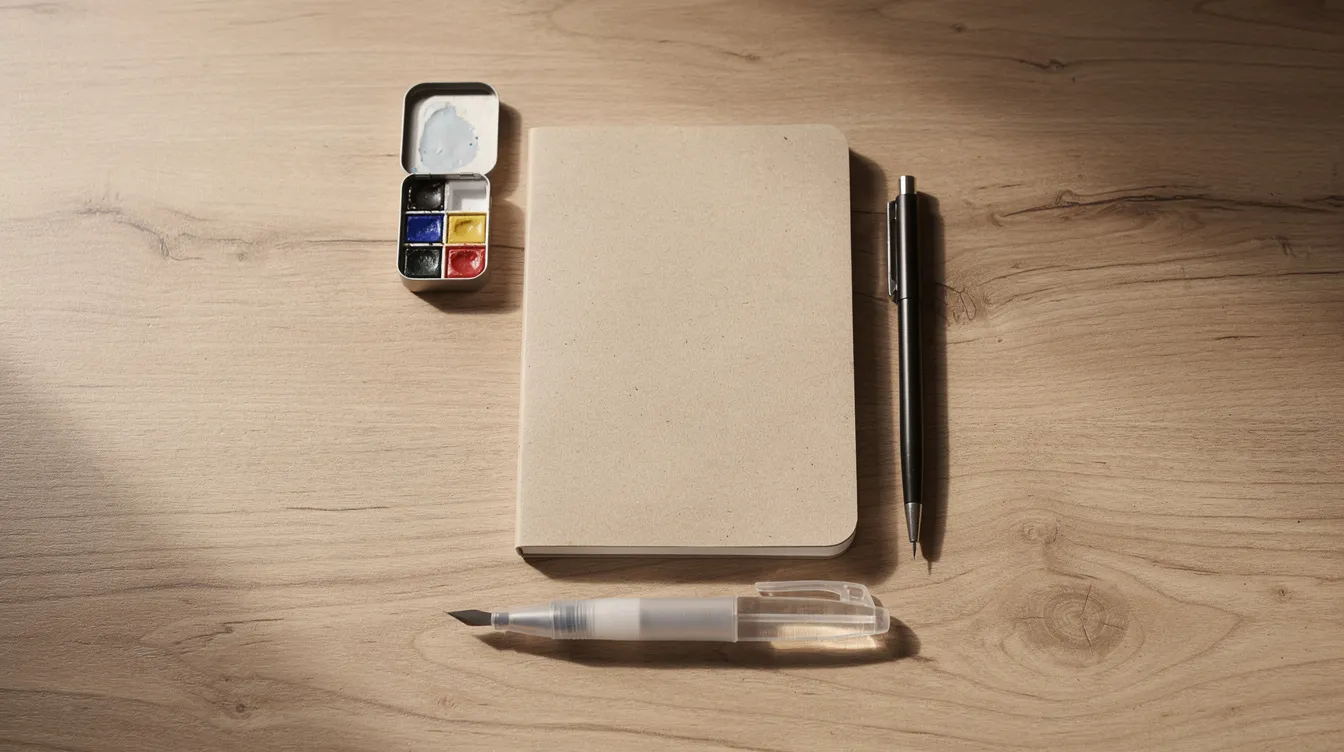
A pocket-size sketchbook (A6 or A5) and one waterproof black fineliner. A sketchbook is essential for urban sketching, and a waterproof pen is recommended for ink sketches. These two are the whole starter set.
-
A pencil, a tiny pocket watercolor set with a waterbrush, and a folding stool are optional extras. Watercolor paints are commonly used in urban sketching, but I add them only once the habit is steady. A portable kit is important for ease of practice and spontaneity, and portable supplies are ideal for sketching on location. The same small set works as a carry-on kit for trips.
-
What makes a sketchbook good for this: binding that survives being held in one hand, paper heavy enough for light washes (around 200 gsm if you paint), and a size that fits a coat pocket. Small pages fill fast, which feels good when you only have a few minutes. For a first outing, any book you are not afraid to ruin is the right one. If you want a specific recommendation, read my best sketchbook to carry around.
-
A fountain pen gives expressive lines, but a waterproof fineliner is safer if watercolor is coming. I like pen at first because it stops you erasing and forces you to commit. If pen feels scary, a pencil works until you are ready to switch.
-
A basic notebook and ballpoint pen are enough to start. You can upgrade materials later only if you enjoy the habit. Sketch Where You Are does not sell or endorse products; I describe what has worked for me.
How I Build a Quick Urban Sketch as an Urban Sketcher on Location
This is my usual process for a quick street scene, whether at a bus stop, a café table, or leaning on a wall.
-
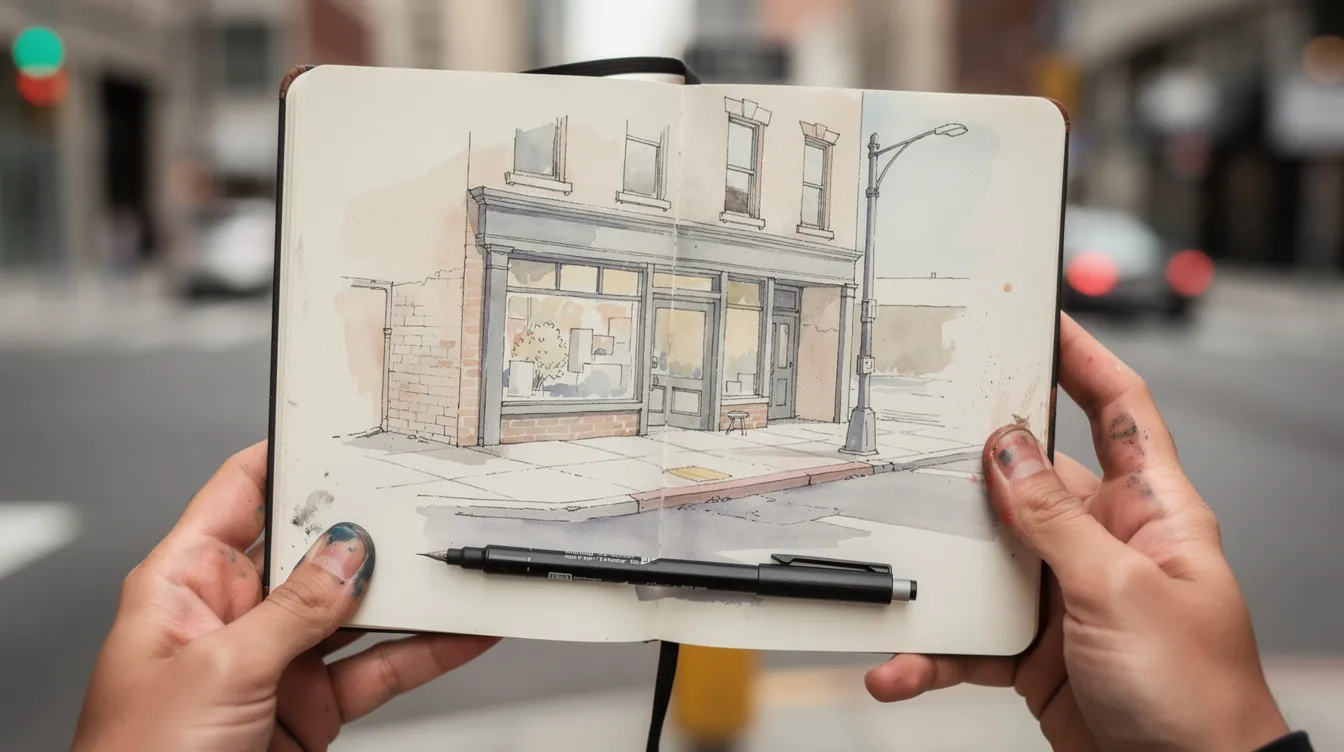
Choose a frame by using fingers or the sketchbook edges to crop the view to three main basic shapes: a building, a strip of sidewalk, and a bit of sky. Squinting helps simplify what you observe.
-
Place the horizon and eye level, and compare angles to suggest windows and rooflines without drawing every brick. I hold my pen at arm’s length and squint, and I draw what I see, not what I think a building looks like. Learning perspective and proportions is essential for sketching buildings, but formal rules can wait until you get curious. Explore different techniques as they come up.
-
Draw the fixed things first (buildings, poles, signs) in light pen lines, and add cars, bikes, and people last as quick marks. If a parked car drives away, abandon it and draw another shape in its place. Wobbles are fine. Embrace imperfections; they add character to sketches. Sketching complex scenes is best started with big shapes and simple objects.
-
Optionally, lay down loose watercolor shapes for shadows and big color areas, let them dry briefly, then draw over them in pen. Mike Yoshiaki Daikubara’s book suggests layering color first, then ink, and this method works well for capturing depth quickly. Using watercolors can enhance sketches but does not require perfection. Layering techniques can enhance urban sketching results.
-
Draw people as simple repeated shapes: oval heads, block torsos, a few marks for bags or phones, caught in 10 to 20 seconds while they queue or wait at a crossing. Capturing movement in sketches involves quick, gestural drawing techniques.
-
Choose one small “hero” detail from the built environment or nature, such as a red umbrella, a tram sign, or one tree against gray buildings, to give the sketch a focal point and capture the essence of the scene.
Standing changes how you draw: the book is small, you cannot lean in close, so the drawing is looser. If you would rather sit, steps, low walls, and benches all work, as long as you are not blocking anyone.
Each page is a record of a particular morning or bus wait, not a masterpiece. I try not to judge pages the same day, because some of my favorites looked like failures when I made them. Sketching is emphasized over drawing from photographs or imagination.
Handling Weather, Travel Days, and Sketches You Really Do Not Like in the Urban Sketching Community
I once stood under an awning in light rain, sketchbook propped on my arm, and learned that imperfect conditions are part of urban sketching. The page had a water spot in the corner, and I liked it more because of that.
-
Rain: stand under balconies or bus shelters, clip pages so they do not flap, work mostly in pen, and add at most one quick wash. Find a spot where you can create without worrying about your materials getting soaked.
-
Travel days: when you only have five to ten minutes in a place, draw one fast contour of a skyline or landmark. In airports and stations, focus on rows of seats, overhead signs, or a cluster of waiting travelers, not a whole terminal. You can explore towns and new places through quick images in your book, and it brings home more than a photo does. For more on drawing while you travel, I wrote a separate post.
-
Sketches you hate: jot a note about what was happening (“windy, freezing, coffee spilled”), try one small correction, then turn the page instead of tearing anything out. Do not worry about the result. A messy rainy-day page is part of your urban sketching journey, because it holds a memory a tidy photo does not. I sometimes share my weaker pages on Sketch Where You Are to keep expectations realistic and to stay honest about life as an urban sketcher. The insights I get from looking at rough pages later often teach me more than my clean ones.
FAQ
Do I need to know how to draw already?
No. Urban sketching is a way to learn and practice drawing, not a test of it. If you can make a line with a pen, you can start. Skill comes from doing quick pages often. Many workshops at Urban Sketchers symposiums assume no prior experience, and the variety of work in the community reflects that.
What is the cheapest way to begin?
A pocket sketchbook and one pen is the whole kit. Watercolors and brushes can wait until you know you enjoy the habit. You do not need to check a guide or buy a set before your first outing.
How long should a sketch take?
Five to twenty minutes is a good range for beginners, and I often do under ten. A short limit keeps the drawing loose and stops you chasing perfection. It is easier to improve by doing many quick pages than by laboring over one.
What should I draw first?
Something simple and still: a mailbox, bench, shopfront, or lamppost. Clear shapes are easier than crowds or busy intersections, and you can add people and scenes once those feel comfortable.
Should I use pencil or pen?
Either works. I recommend pen at first because it stops you erasing and curbs the urge to correct everything. If pen feels scary, start in pencil and switch after a few pages. Experiment with both and let your preference develop with practice. The great thing about a sketchbook is that nobody else has to see it until you are ready to share your work with the world.